Designing Ventilated Rainscreen Cavities for Continuous Drainage and Ventilation
 Rainscreen · Cavity Design

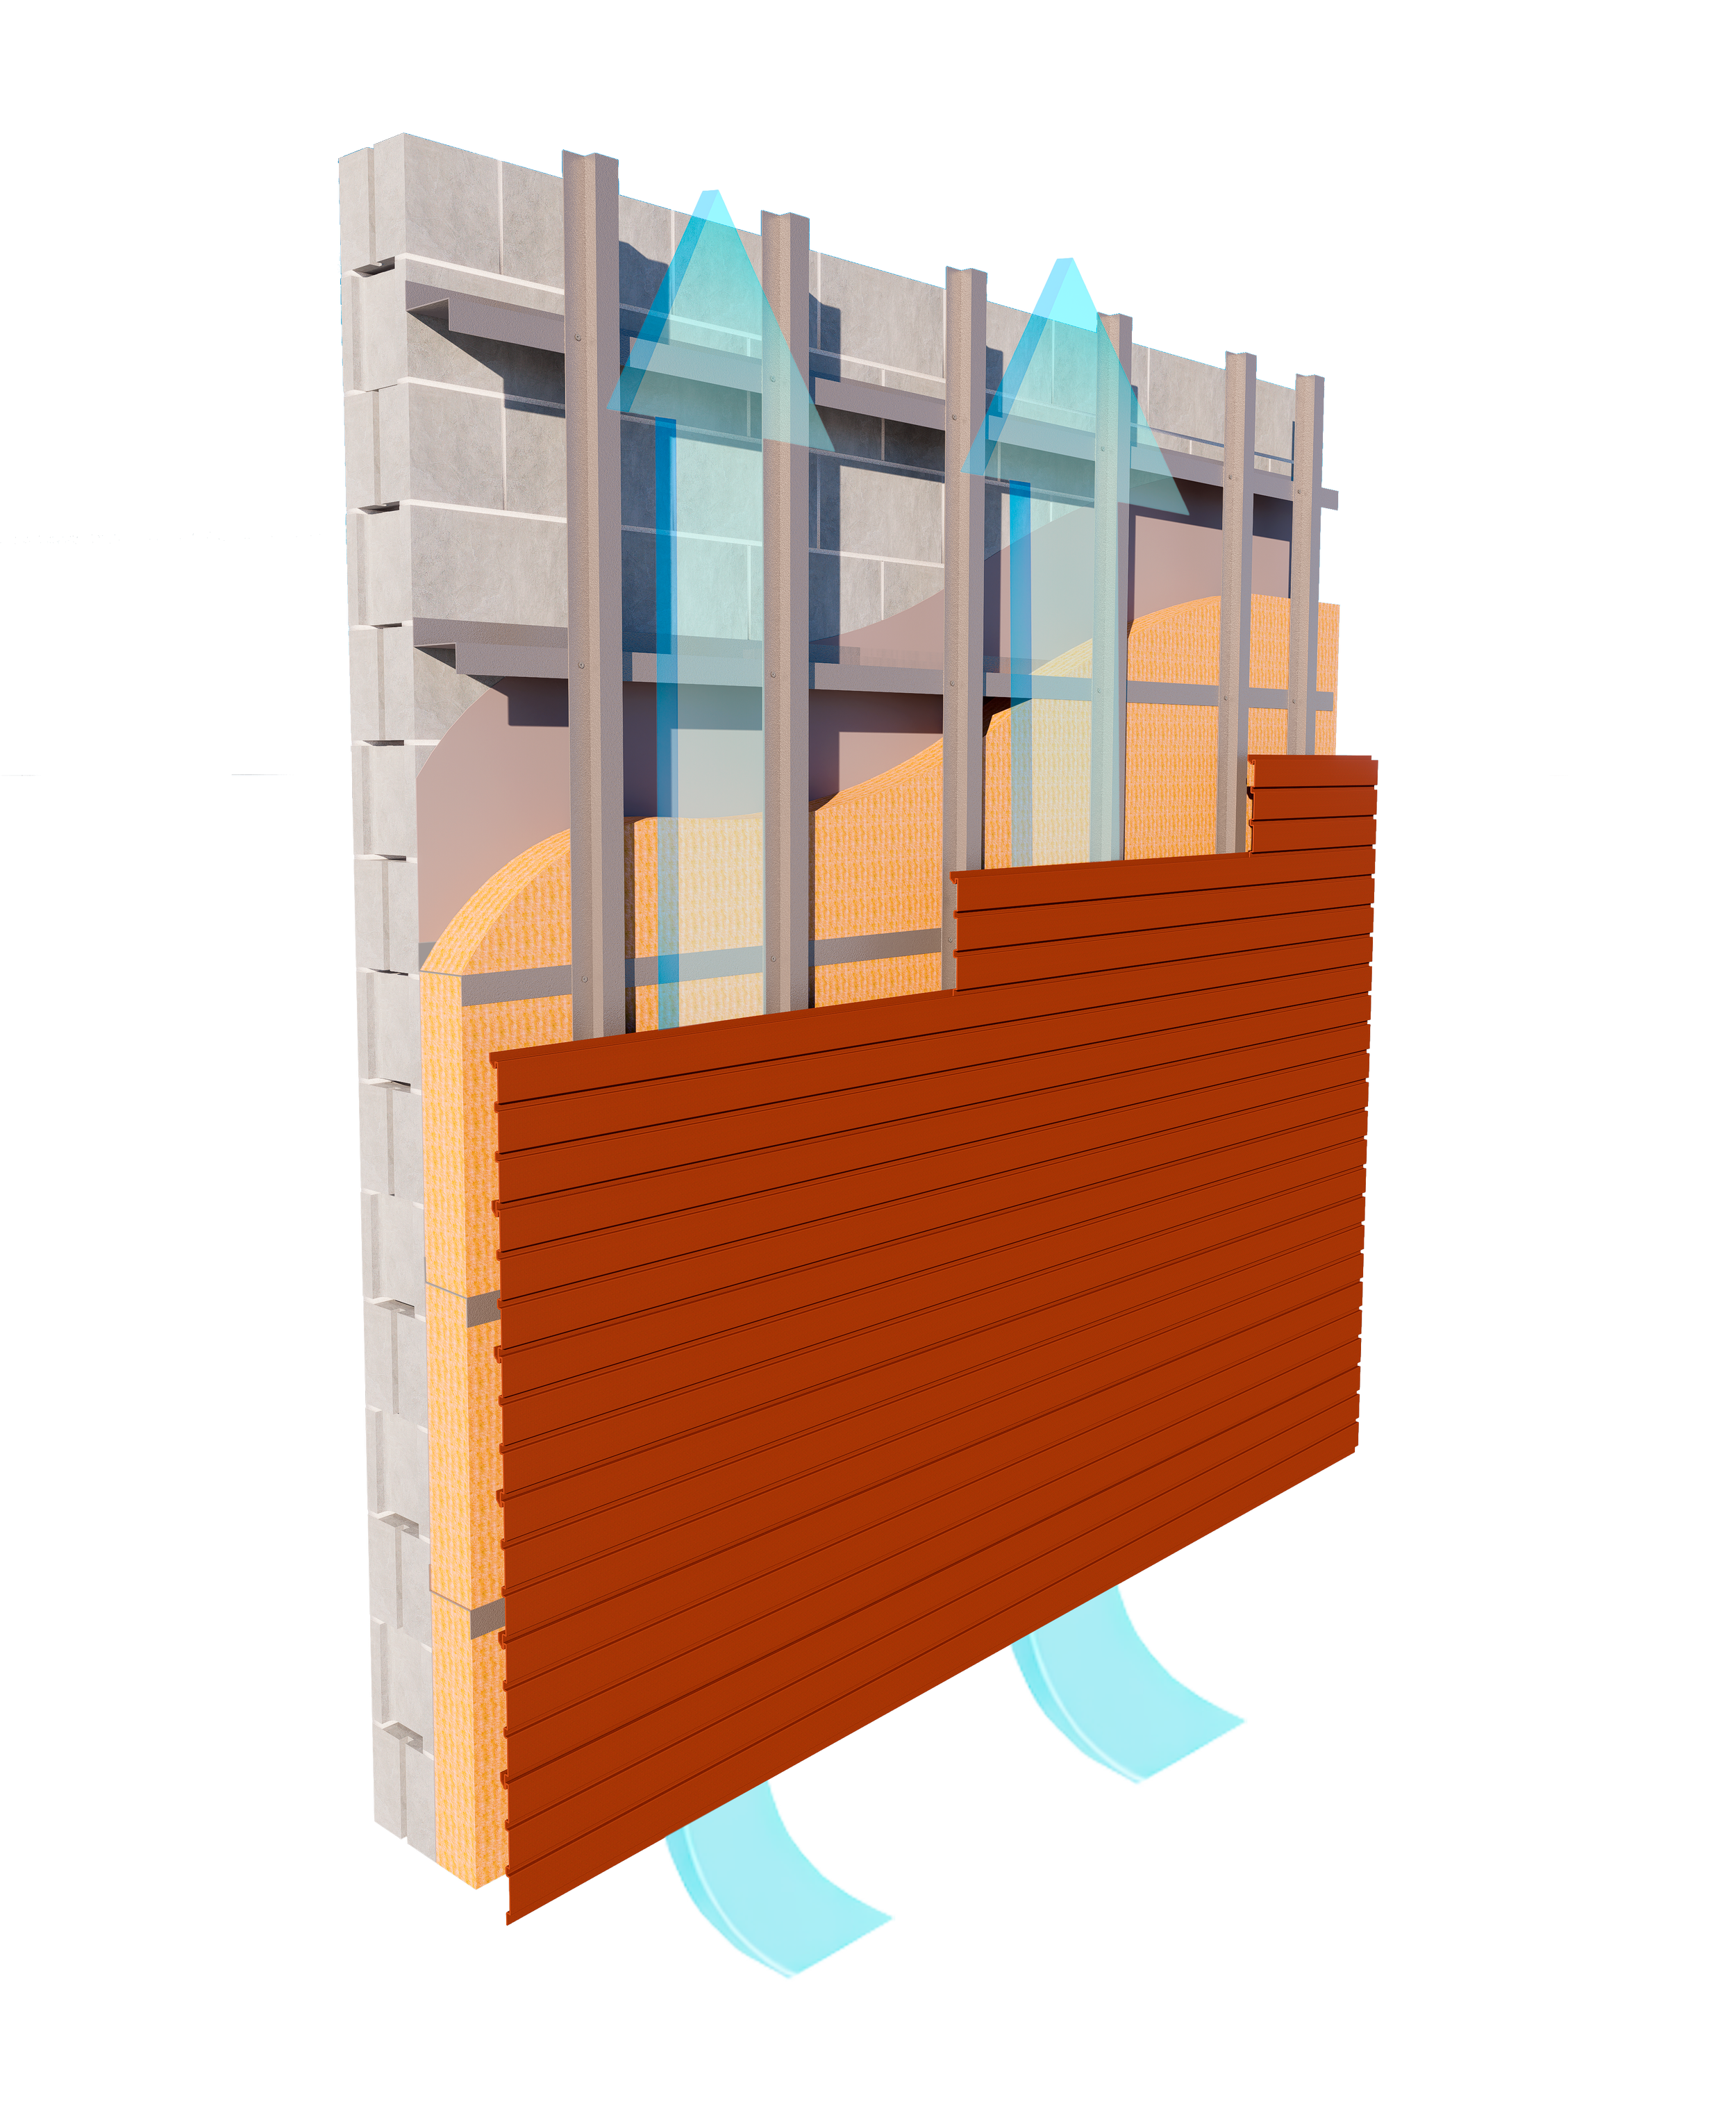
A ventilated rainscreen cavity can be clearly represented in a wall section and still lose its intended function in the finished facade. The important question is not simply whether a space exists behind the cladding, but whether that space remains usable through support rails, insulation, openings, transitions and terminations.
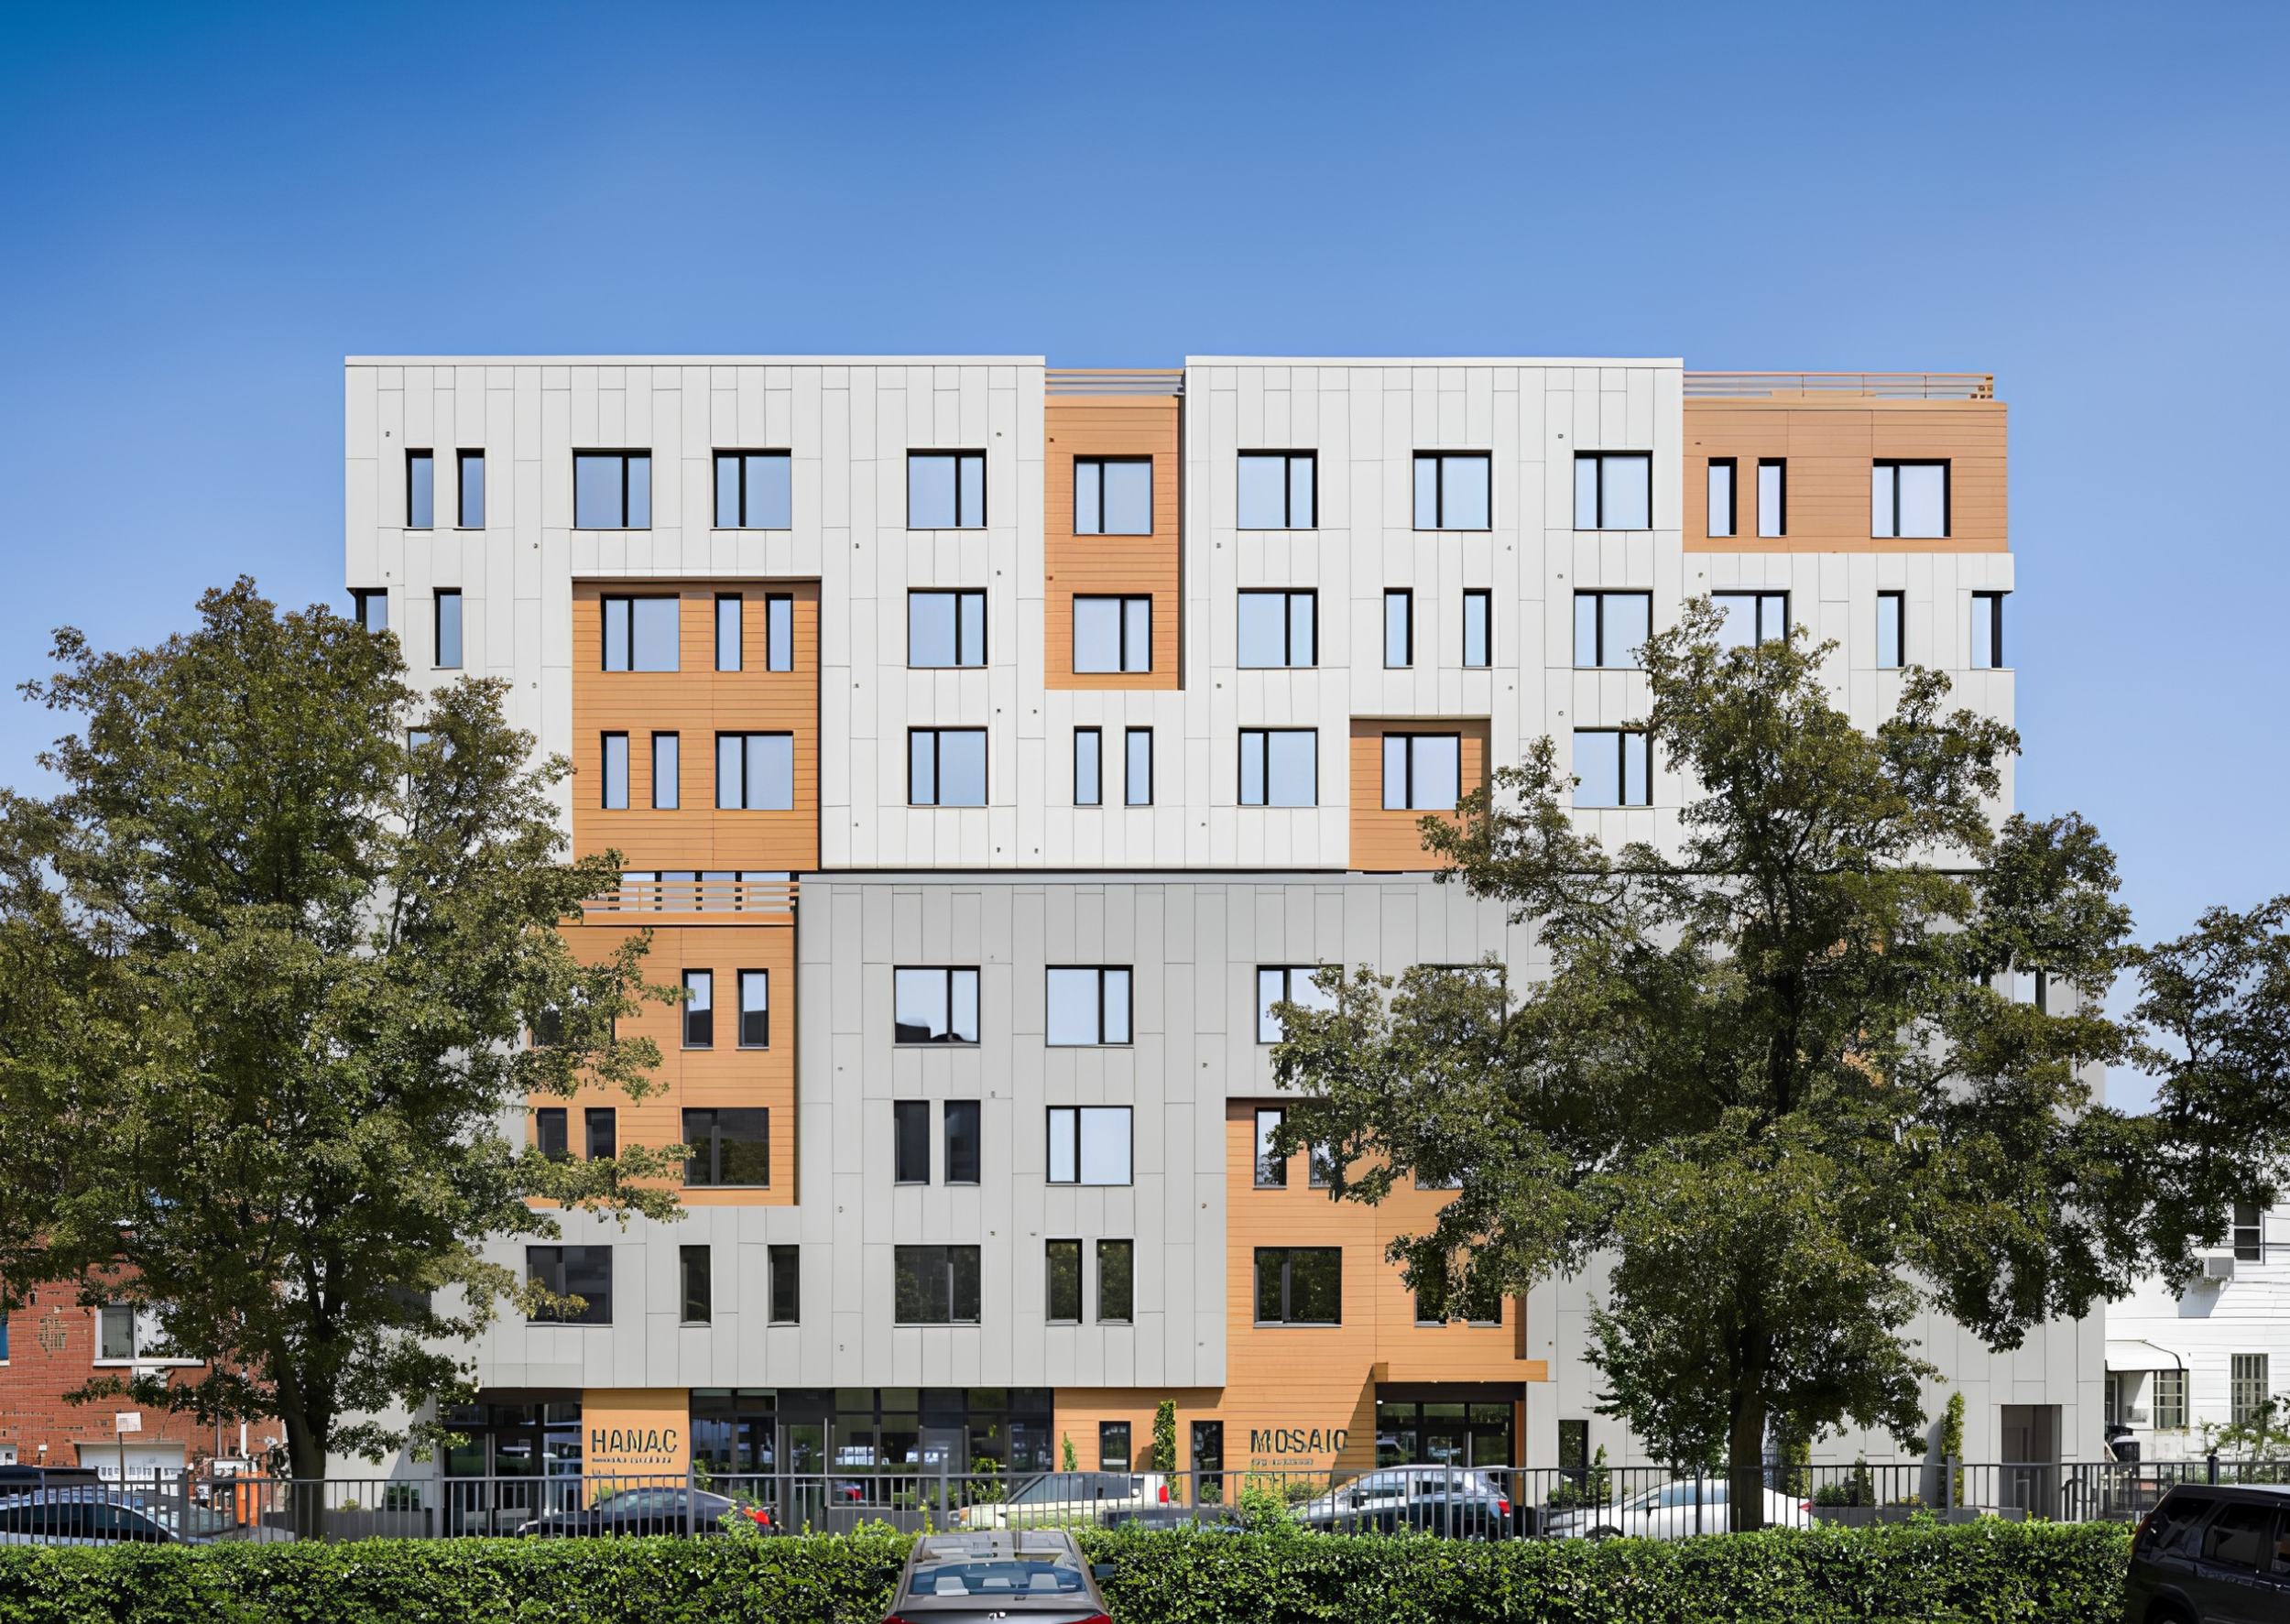
For teams detailing rainscreen facade systems for commercial buildings, cavity design is therefore less about selecting a nominal dimension and more about maintaining a continuous route for drainage and air movement across the elevation.
That coordination becomes more important as exterior insulation and thermally broken adjustable subframing compete for space behind the cladding.
Ventilated Rainscreen Cavity Design Requires a Continuous Path
There is no single cavity depth that defines a successful ventilated rainscreen for every project. Cladding configuration, insulation thickness, support-system geometry, exposure and project-specific enclosure requirements all influence the assembly.
The Whole Building Design Guide description of the rainscreen approach treats the cladding, air cavity, drainage plane and supporting wall as coordinated parts of the enclosure. That relationship matters during detailing because rails, clips, insulation, flashings and closures can reduce the effective space behind the cladding even when the nominal cavity dimension remains unchanged.
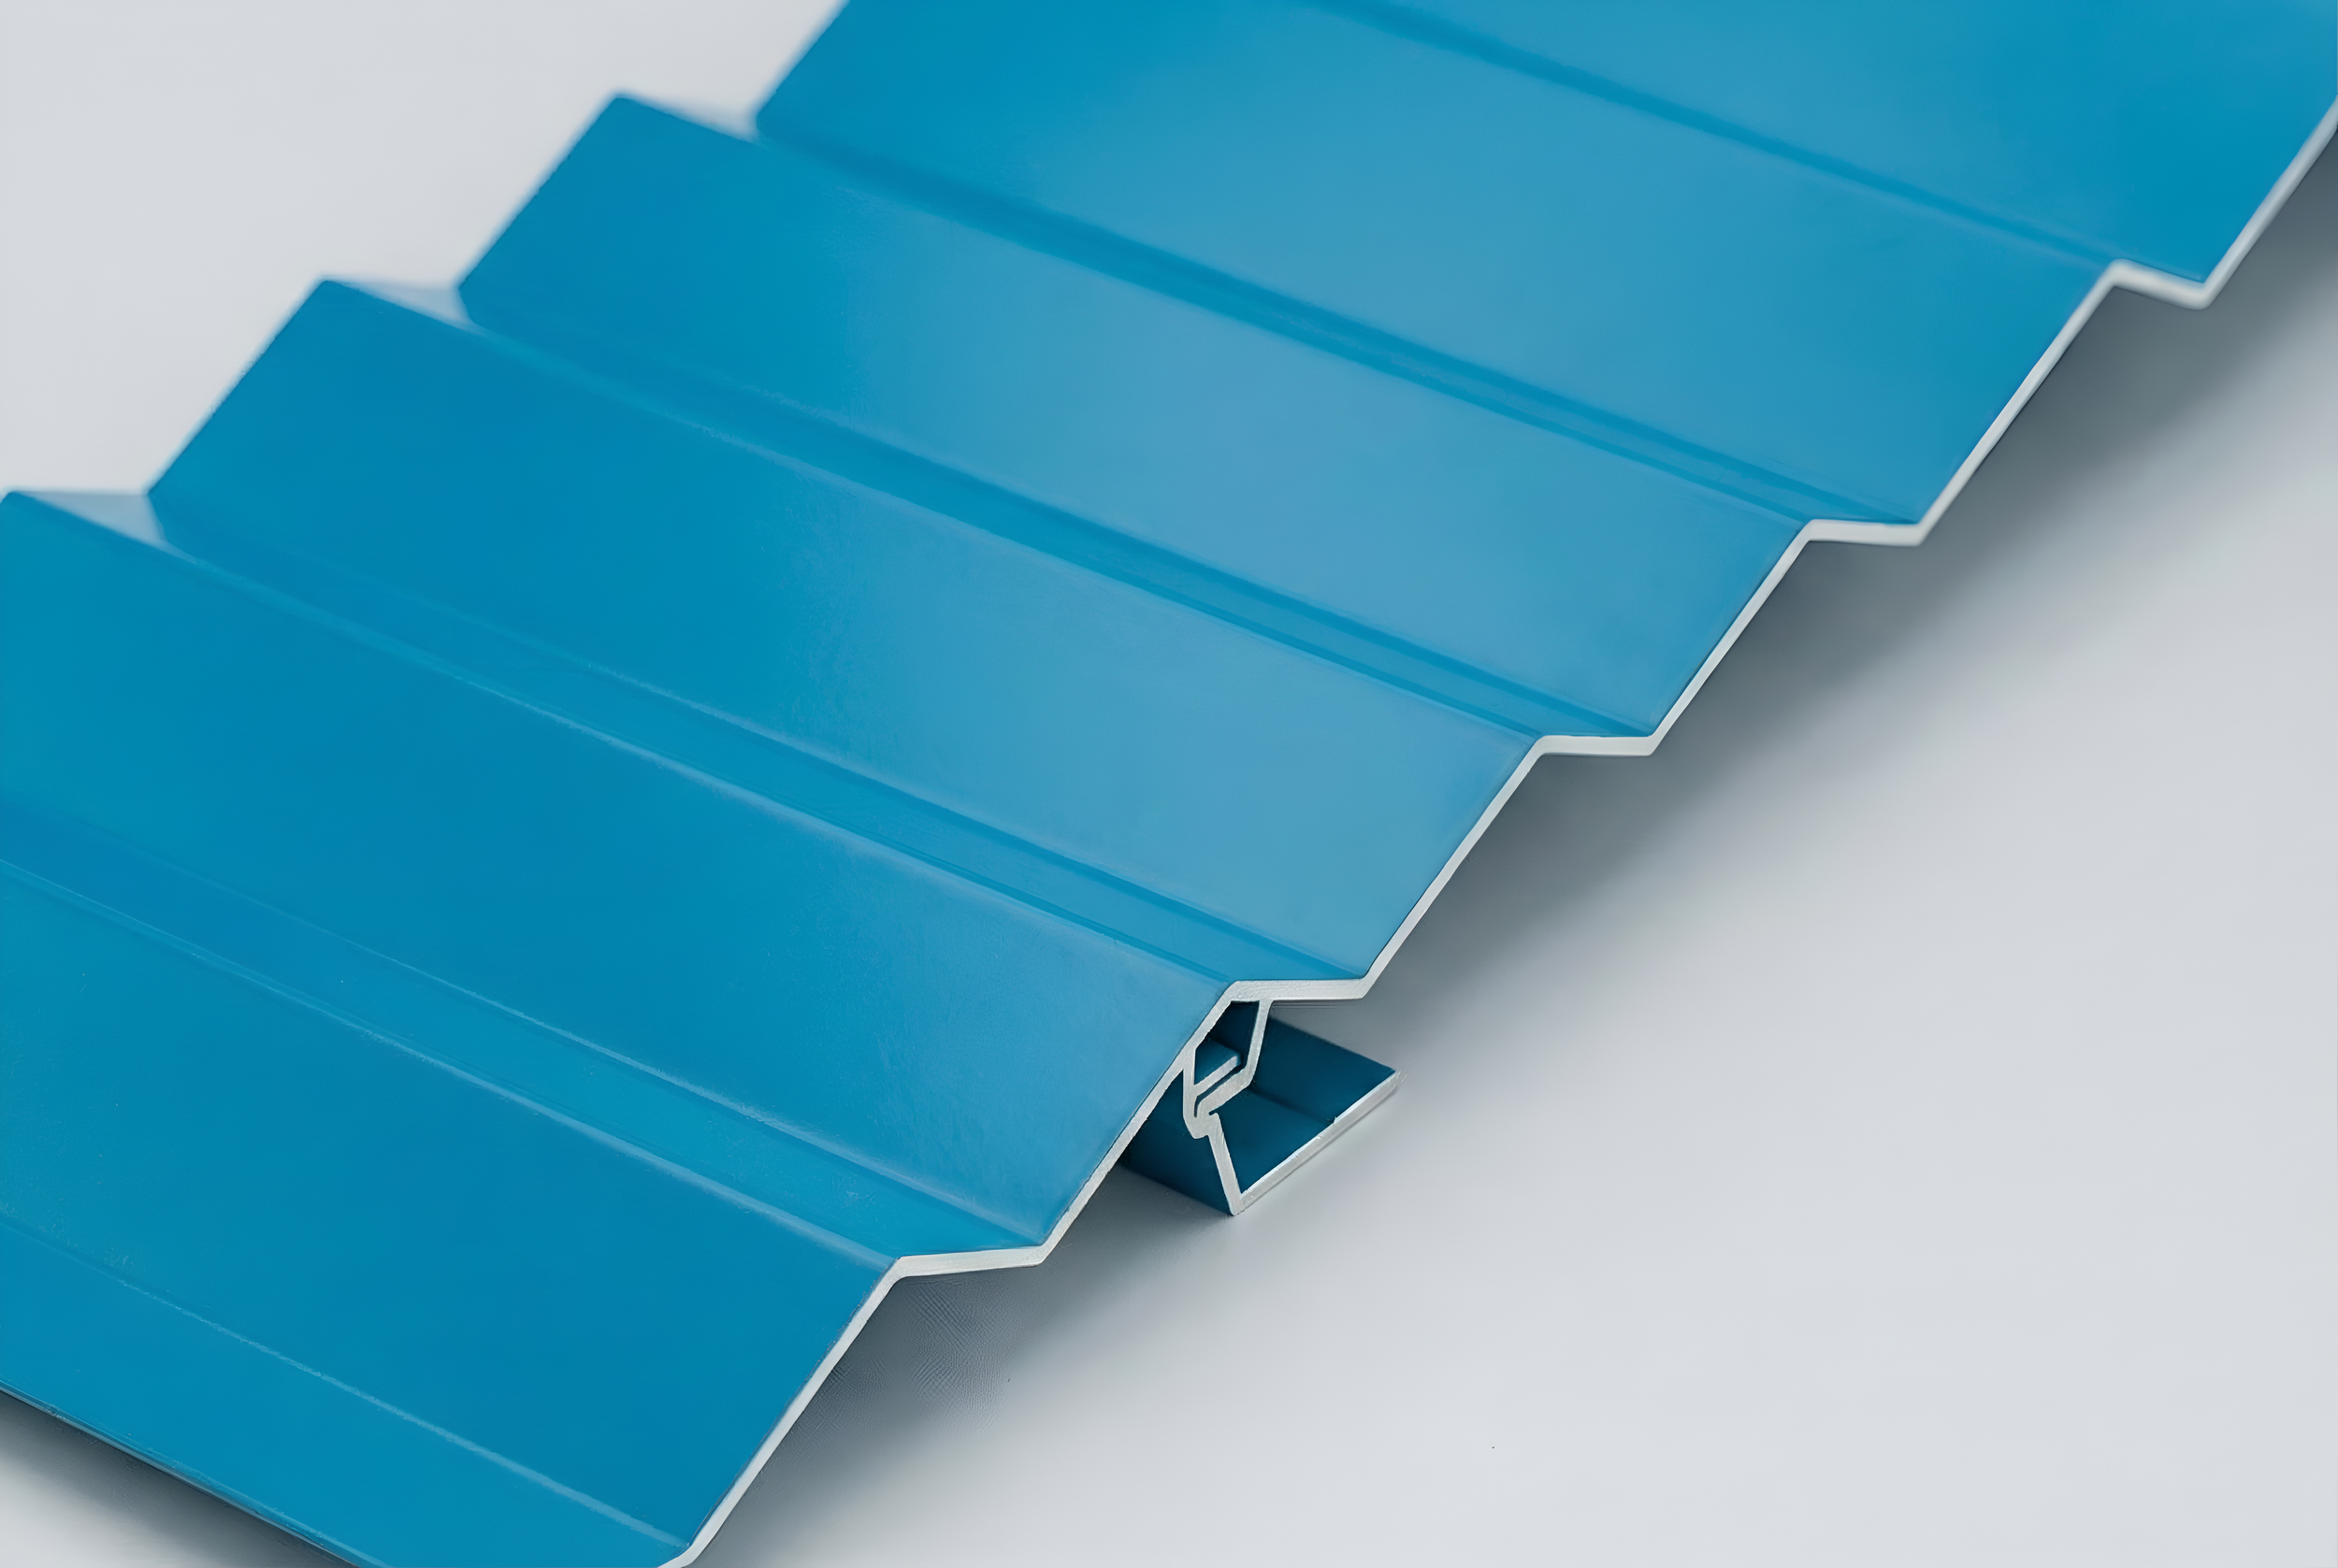
With aPlank extruded aluminum cladding panels, the cladding plane can be evaluated together with the attachment strategy and wall build-up so the cavity remains intentional across the assembly.
Support Continuous Drainage and Ventilation
Use aPlank cladding with adjustable aFrame subframing to maintain the cavity geometry required by the project’s rainscreen design.
Explore aFrame →Drainage Needs a Clear Route Back to the Exterior
Water that passes the outer cladding needs a predictable route downward and back out of the assembly. That path should remain understandable through the complete elevation rather than only in the typical wall section.
The U.S. Department of Defense exterior-wall drainage guidance similarly addresses drainage planes and flashings that direct penetrating water toward the exterior. For project teams, that means checking wall bases, window heads and sills, horizontal transitions, projections and changes in facade geometry.
A cavity may drain freely through most of an elevation but still create a local collection point where a flashing, rail or closure interrupts the downward path without a corresponding discharge condition.
Ventilation Depends on More Than Leaving Space Behind the Panel
Drainage and ventilation are related, but they are not interchangeable. Providing space behind the cladding does not automatically create an effective ventilated cavity.
Research on ventilated wall cladding performance distinguishes between simply drained assemblies and configurations where openings and cavity geometry also allow air movement. This makes terminations and openings especially important because the intended air path still has to remain connected around rails, flashings, closures and other required components.
“A successful rainscreen cavity is not simply a gap behind the cladding; it is a continuous path for drainage and ventilation.”
— aPlank technical perspectiveCoordinate Insulation, Subframing and Transitions Together
Exterior insulation and support framing are two of the main factors controlling available cavity geometry. Insulation should maintain continuity around attachment points without projecting into the intended ventilation path.
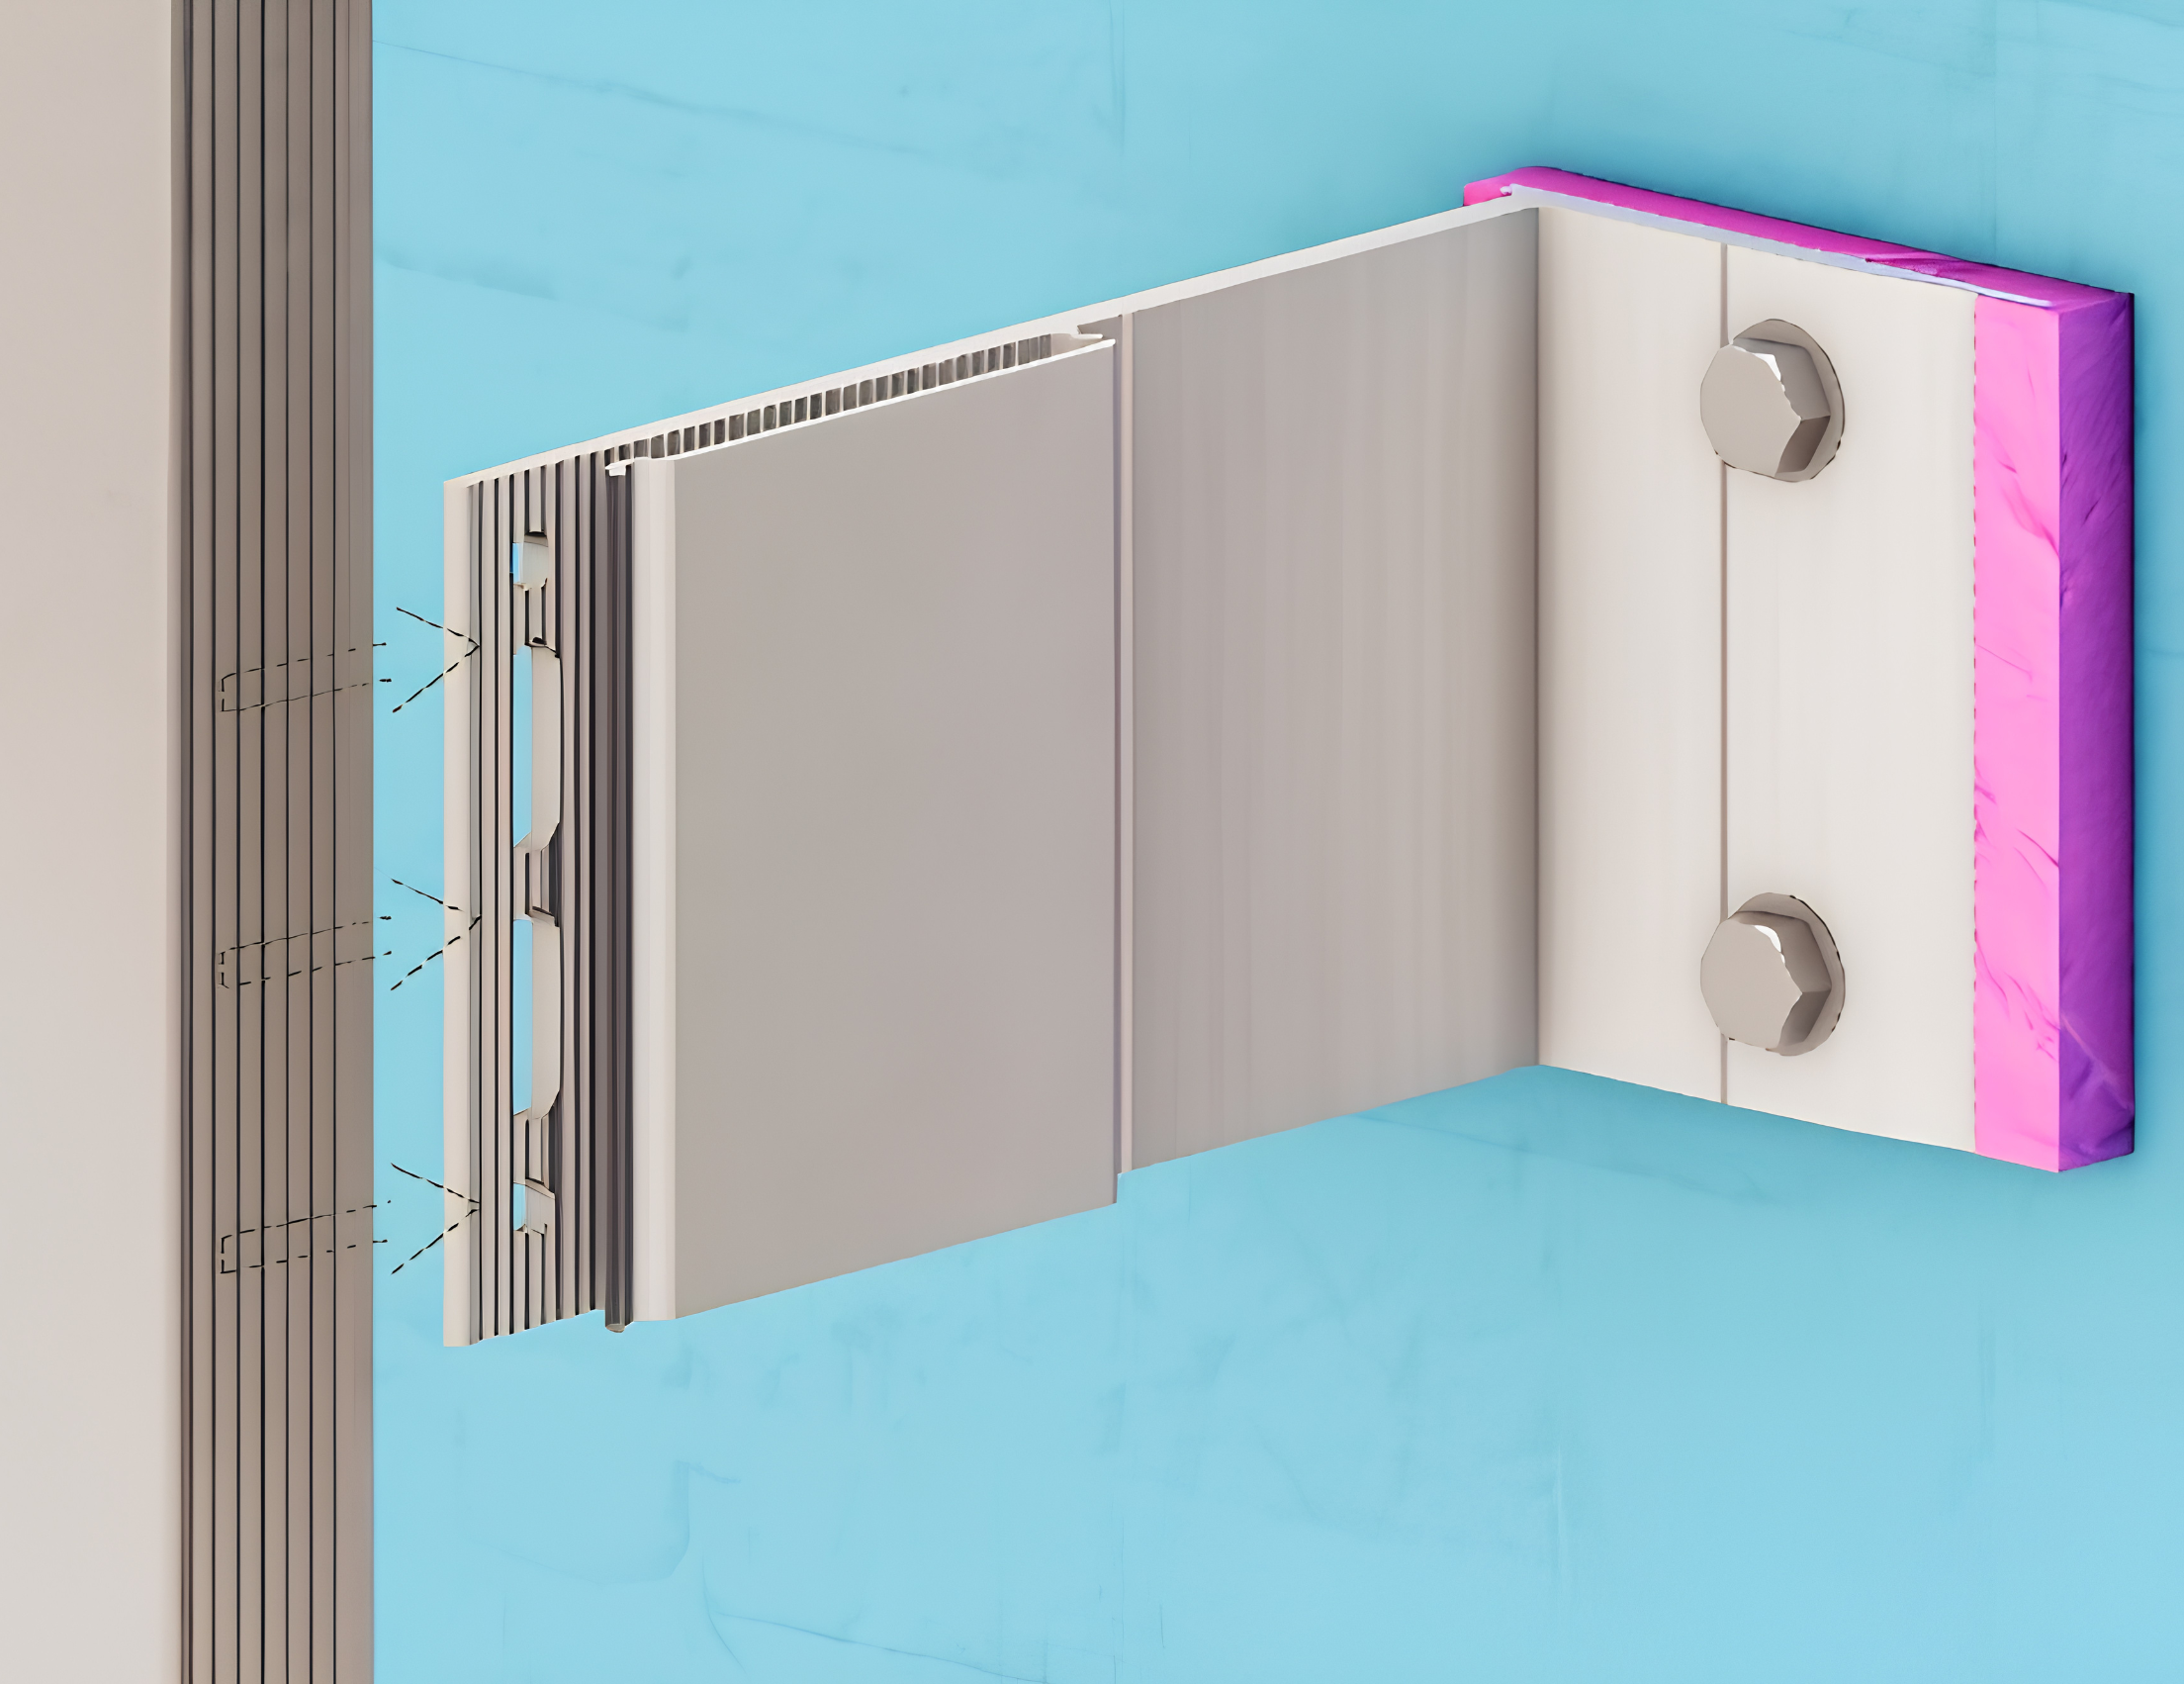
aPlank aFrame installation guidance specifically notes that insulation should be fitted around brackets and secured so it does not block the ventilated cavity. The aFrame thermally broken subframing integration guide also shows why the attachment plane should be coordinated with cladding position, insulation depth and movement requirements rather than added after those dimensions are fixed.
Establish the cladding plane
Confirm the intended panel position before finalizing support depth.
Keep insulation clear of the air path
Fit and secure insulation around brackets without reducing the intended cavity.
Resolve transitions explicitly
Carry the same logic through openings, parapets, soffits, corners and material changes.

aFrame bracket systems provide adjustable attachment depth, allowing the cladding plane to respond to project-specific wall build-ups.
Review Ventilated Rainscreen Cavity Continuity Before the Detail Reaches the Field
A useful cavity review should trace the assembly vertically and horizontally rather than evaluating individual details in isolation. The objective is to confirm that each transition preserves the intended drainage and ventilation strategy.
| Review point | What to confirm |
|---|---|
| Drainage | Water can continue downward or discharge to the exterior. |
| Ventilation | Intended air paths and openings remain connected. |
| Clearance | Insulation, rails, fasteners and flashings do not unintentionally constrict the cavity. |
| Transitions | Openings, terminations and material changes are intentionally resolved. |
For aPlank rainscreen assemblies, cavity geometry should therefore be reviewed as part of system coordination rather than as leftover space behind the panel. A successful ventilated rainscreen cavity is defined not only by depth, but by whether drainage and ventilation remain continuous through the actual facade conditions.
Ventilated Rainscreen Cavity Design: Common Questions
Why is the cavity important in a ventilated rainscreen system?
The cavity supports drainage, ventilation, and separation between the cladding and the backup wall. Its performance depends not only on having space behind the cladding, but on maintaining that space through supports, insulation, openings, and terminations.
Does a ventilated rainscreen cavity need a specific minimum depth?
Not universally. Required cavity geometry depends on the cladding, support system, insulation, exposure, and project-specific enclosure design. The key is maintaining sufficient functional space for the intended drainage and ventilation strategy.
How does rainscreen subframing affect cavity drainage and ventilation?
Rails, brackets, fasteners, and related components can constrict or redirect the cavity if they are not coordinated with the intended drainage and ventilation paths. Subframing layout should therefore be reviewed with insulation, flashings, openings, and terminations.
How should a ventilated rainscreen cavity be maintained at openings and facade transitions?
The cavity should remain intentionally connected through window heads and sills, wall bases, parapets, soffits, material transitions, and other changes in geometry. Flashings, closures, and support components should be detailed so they do not unintentionally block drainage or the intended ventilation path.